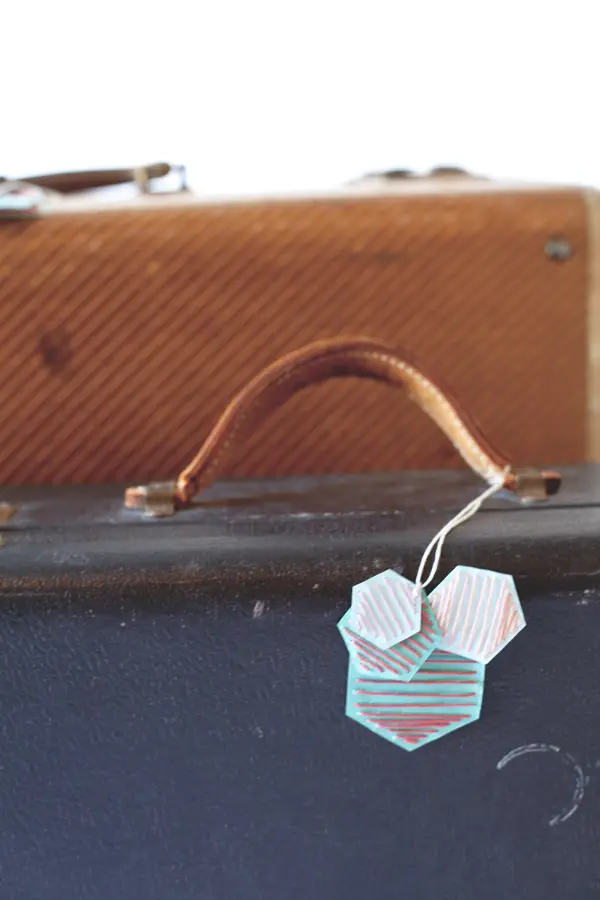


We are headed out on summer vacation later this week and I wanted to interject a small dose of fun into the dreaded chore of packing, so I made these easy DIY luggage tags to carry along with us.
Using a simple paper template and hand stitched thread, the embroidered luggage tags came together in a snap. They look fabulously festive on our suitcases. So fun! We certainly won’t need to worry about grabbing the wrong one after a long flight with kids.


To make your own embroidered luggage tags cut out graphic shapes from thick card stock paper. Use a collection of thread colors, or for a more organized look, assign each family member to a color so that everyone will easily know what they are responsible for.
Taking the embroidery thread; start at one end and hand stitch the cut tag. Going over and around the side leaves a nice area on the back of the tag for a name and number – just incase your luggage happens to not make the last leg home with you.

Photography in collaboration with Jocelyn Noel for A Subtle Revelry.


you take amazing photos!!! like crazy good! just found your awesome blog!